Showing posts with label Tutorials. Show all posts

Monday, December 7, 2015

Better Noise Reduction with Darktable

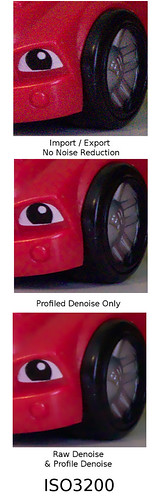
In a previous post, I wrote about Darktable's profiled noise reduction with a set of sample images to compare the results. And while the basic profiled denoise algorithm still gets great results in Darktable, I have found another method that yields even better results (that incidentally, still utilizes the profiled denoise, but to a lesser extent). It may not show as much as I had hoped in the images below, but I have found this method especially attractive when dealing with photos of people. Steps and samples below:

First step is of course to import your images to Darktable. Next, we will run the Raw Denoise module. In most instances (especially with people) I have found .003 to be a good starting point. Typically the default .010 threshold can make images too soft. For the compared images of the kiddo toys, I used .014 for this setting.

Next step is to apply the profiled denoise option. The default strength of 1.000 is typically overkill after applying the raw denoise first. For my images I have found a value of less than .300 is a good balance to retain detail, typically I use .289. For the sample image, the value used was about .400.

3200DTComp
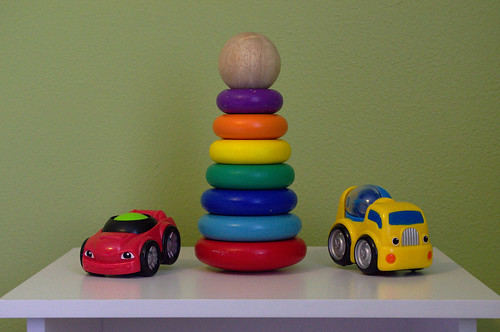
Composition for Comparision
 
No Noise Reduction
No noise Reduction (Imported and then Exported in Darktable)

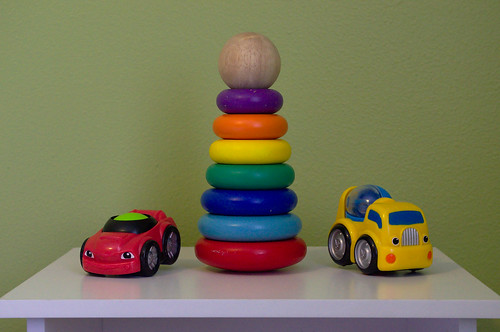
Profiled Denoise Only
Profile Denoise Only

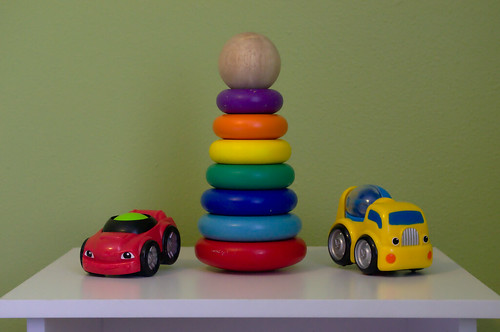
Raw Denoise & Profiled Denoise
Raw denoise & Profiled denoise used together

For additional comparison I have added a new image to the original Flickr set that shows the processing done with my refined noise reduction routine.

Blessings,

Jesse

Monday, April 21, 2014

Converting an Image to Black and White with Darktable

When converting an image to black and white, there are different ways to go about it with different programs. From a basic desaturate command to a more involved process where you are manipulating multiple channels to adjust the final look. In this post we will be exploring two different ways to convert an image to black and white with Darktable.

First step after importing our image into Darktable is to make our adjustments as if we were developing the image in color (noise reduction, white balance etc...) Below is a screen shot of my initial development and and the adjustments used (sharpen and base curve are automatically applied upon import).

Imported and Developed as if for a color image final

Next, we will use the monochrome module in Darktable to do our first conversion. For this module, simply drag the circle around the color pallet until you have the desired look. You can also make the target circle smaller or larger (using the mouse wheel or two finger scrolling on a laptop track pad) which will change the final look of the image. Below is my screen shot of my monochrome conversion with this module (I had shrunk the circle slightly and moved it away from center).

Monochrome module settings

Now for the channel mixer module, which is my preference and that in my opinion,  is the option with the best results.  With the channel mixer selected, we will choose gray as the destination and then simply adjust the three (red, green & blue) channels till we have our desired results. In the screen shot below, you can see the values for my adjustments.

Channel Mixer module settings
Now that we have gone through the steps taken, below I have the resulting images for viewing and comparison. First the photo converted using the monochrome module followed by the channel mixer module.

Monocrome Conversion #1 with Darktable
Monochrome Module conversion

Monocrome Conversion #2 with Darktable
Channel Mixer Conversion

Your thoughts? Do you have a favorite way to convert to black and white or other methods that have great results not discussed here?


Blessings,

Jesse

Thursday, October 10, 2013

Converting an Image to Black and White with the GIMP

Some photos may not come out the way we anticipated, the weather may not cooperate when you are traveling or have the time to take photographs which could end up leaving a final image that is simply missing something. Or perhaps the scene just doesn't seem as interesting upon final review as it may have seemed when framing the photo in the viewfinder or LCD screen. And sometimes, a scene just lends itself to be more appealing as a monochrome image.

The image below is one from my collection that wasn't anything very eye catching as a color photo, but after a black and white conversion is vastly improved. This photo was taken in Seattle several years back on a trip meeting up with my brother.  A simple tutorial on using The GIMP program to convert photos to black and white follows the images.
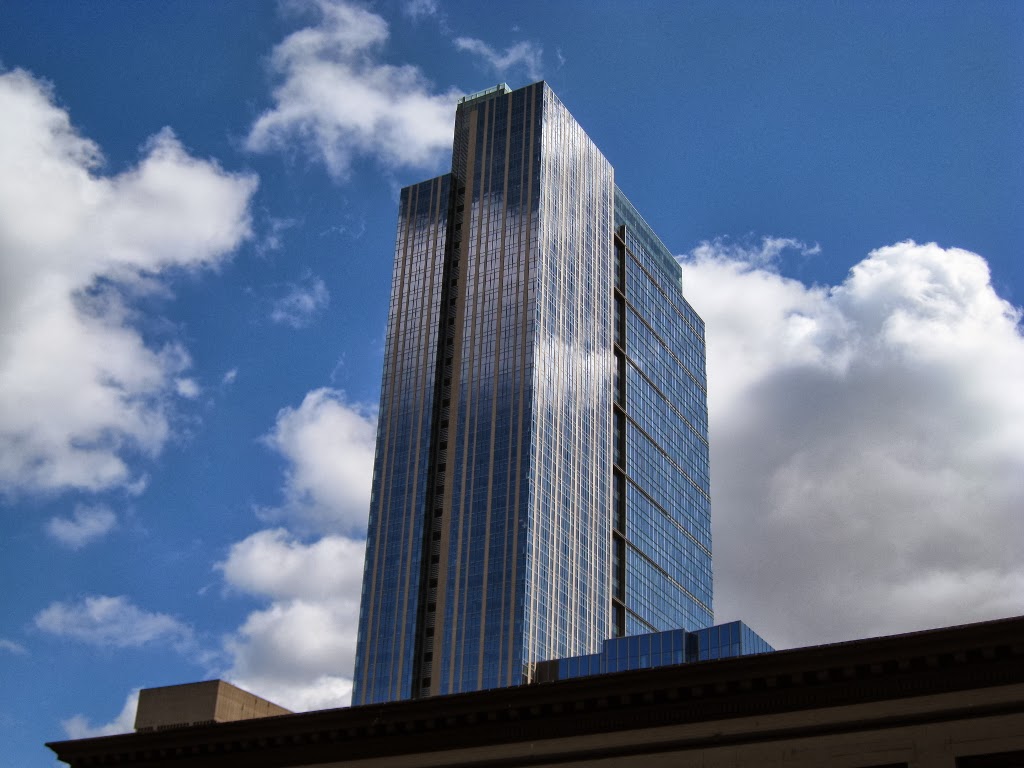
Original Color Image

Seattle Skyscraper in Black and White
Black and White Version

Converting a photo to black and white with the GIMP program is a simple task that takes a little bit of experimenting with for the best results. The following is a simple path to follow to convert your images.

Step 1: Open the channel mixer, located under the color menu - components - channel mixer.

Step 2: Check the preview and monochrome check boxes. You can also resize the channel mixer window to get a larger sized preview image.

Step 3: Adjust the sliders (red will be defaulted to 100) to get your base settings close to optimal, we will add an extra adjustment after the channel mixer step to fine tune the look. I have found that on many images having the blue channel fairly close to the inverse of the green channel (say, 40 green -50 blue and/or similar combinations) yields pleasing results. When you are happy with the preview box, click OK. You can even save the slider settings for later use with the save option/button. Being able to save the black and white settings is a useful tool. To make things quicker I will typically size the image down before starting, get my channel mixer settings the way I want and then save them so I can apply them to the full sized image - this is a handy trick to boost performance if you find the channel mixer slower to respond.

Step 4:  To fine tune our conversion after editing with the channel mixer we are going to duplicate the background layer and change the mode to multiply (to darken the image slightly) and lower the opacity so that we are just darkening the image slightly. You could of course, leave the opacity at 100% if the extra darkness works for the image. If you need to lighten the image slightly we can change the mode to screen and drop the opacity as needed.

Step 5:  Export your image to JPG (or preferred format) for printing or web use and you are done. When doing edits like this I like to save a copy of the image in the native GIMP format (.xcf) so I have a working copy with all my extra layers if I need to revisit or tweak the image at a later time.

The black and white skyscraper image I have printed and hanging up in my office, this is so far my favorite black and white image I have made.

Blessings,

Jesse