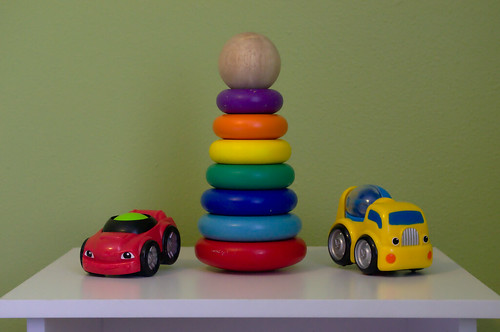
First step is of course to import your images to Darktable. Next, we will run the Raw Denoise module. In most instances (especially with people) I have found .003 to be a good starting point. Typically the default .010 threshold can make images too soft. For the compared images of the kiddo toys, I used .014 for this setting.
Next step is to apply the profiled denoise option. The default strength of 1.000 is typically overkill after applying the raw denoise first. For my images I have found a value of less than .300 is a good balance to retain detail, typically I use .289. For the sample image, the value used was about .400.
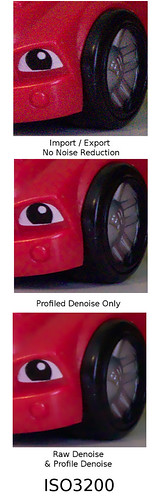 |
| Composition for Comparision |
 |
| No noise Reduction (Imported and then Exported in Darktable) |
 |
| Profile Denoise Only |
 |
| Raw denoise & Profiled denoise used together |
Blessings,
Jesse
No comments:
Post a Comment