The look is not quite what I expected, though the look is still vastly different than daylight hour photos. This project was definitely a fun experiment and one I am very happy with the results and also likely to add to sometime in the future. On this photo excursion, I found that the ambient light makes a huge difference with these types of photos, not only on how long you will need to leave the shutter open, but also on the overall look and feel of the final image - especially in the color tones. The ones that I found worked the best were taken long enough after sunset for any last lingering rays of sunlight to have passed, leaving street lamps and exterior lighting of any surrounding businesses as the only light sources. Below are my favorites from the shoot:
 |
| 30 Second Exposure |
 |
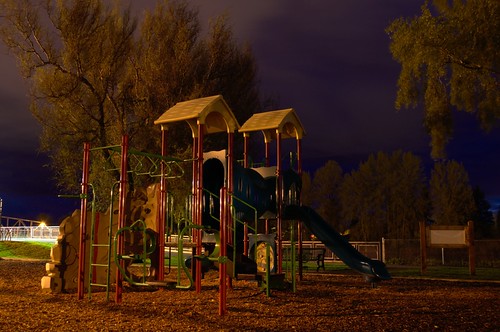
| 20 Second Exposure |
 |
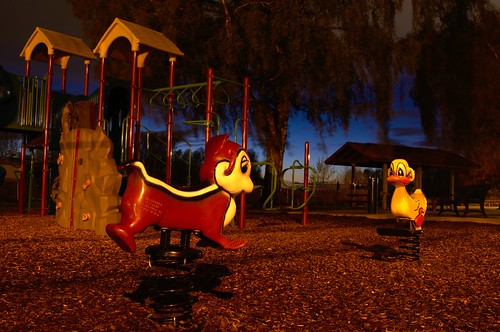
| 20 Second Exposure |
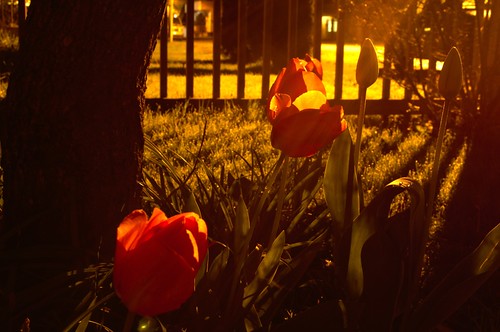
I also took a couple of long exposure shots in my back yard (see long exposure of tulips), and below is one of a not yet leafing tree with stars and clouds visible.
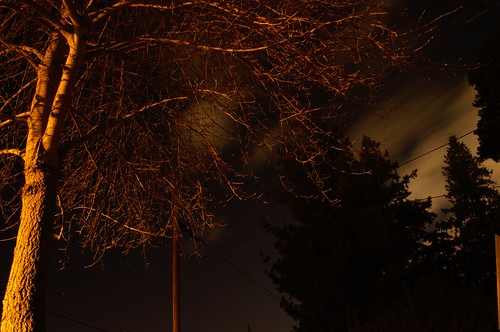 |
| One Minute Exposure |
Two take-away tidbits I figured out while taking these pictures: First, 30 seconds feels like an excruciatingly long wait standing in the dark on an empty playground waiting for a shutter to finally close. Second: bring a powerful enough light to aid with focusing if there is not enough ambient light. A small LED light just doesn't have enough range for auto focus to work or allow you to see for manual focus. Also, with these types of shots you will find a good remote shutter release is worth every penny.
Blessings,
Jesse