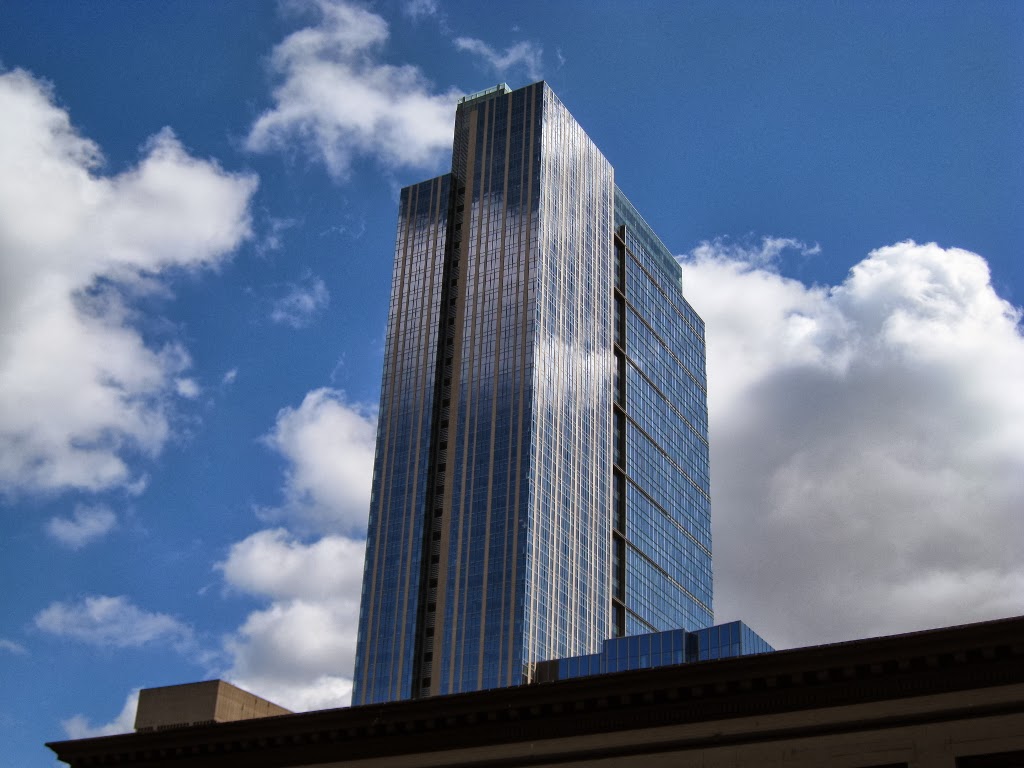
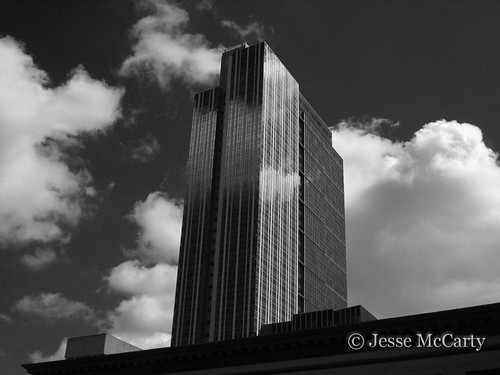
The image below is one from my collection that wasn't anything very eye catching as a color photo, but after a black and white conversion is vastly improved. This photo was taken in Seattle several years back on a trip meeting up with my brother. A simple tutorial on using The GIMP program to convert photos to black and white follows the images.
 |
| Original Color Image |
 |
| Black and White Version |
Converting a photo to black and white with the GIMP program is a simple task that takes a little bit of experimenting with for the best results. The following is a simple path to follow to convert your images.
Step 1: Open the channel mixer, located under the color menu - components - channel mixer.
Step 2: Check the preview and monochrome check boxes. You can also resize the channel mixer window to get a larger sized preview image.
Step 3: Adjust the sliders (red will be defaulted to 100) to get your base settings close to optimal, we will add an extra adjustment after the channel mixer step to fine tune the look. I have found that on many images having the blue channel fairly close to the inverse of the green channel (say, 40 green -50 blue and/or similar combinations) yields pleasing results. When you are happy with the preview box, click OK. You can even save the slider settings for later use with the save option/button. Being able to save the black and white settings is a useful tool. To make things quicker I will typically size the image down before starting, get my channel mixer settings the way I want and then save them so I can apply them to the full sized image - this is a handy trick to boost performance if you find the channel mixer slower to respond.
Step 4: To fine tune our conversion after editing with the channel mixer we are going to duplicate the background layer and change the mode to multiply (to darken the image slightly) and lower the opacity so that we are just darkening the image slightly. You could of course, leave the opacity at 100% if the extra darkness works for the image. If you need to lighten the image slightly we can change the mode to screen and drop the opacity as needed.
Step 5: Export your image to JPG (or preferred format) for printing or web use and you are done. When doing edits like this I like to save a copy of the image in the native GIMP format (.xcf) so I have a working copy with all my extra layers if I need to revisit or tweak the image at a later time.
The black and white skyscraper image I have printed and hanging up in my office, this is so far my favorite black and white image I have made.
Blessings,
Jesse
No comments:
Post a Comment